Next: Changing an annotation without moving it Up: Annotation Editing Previous: The Annotation Template
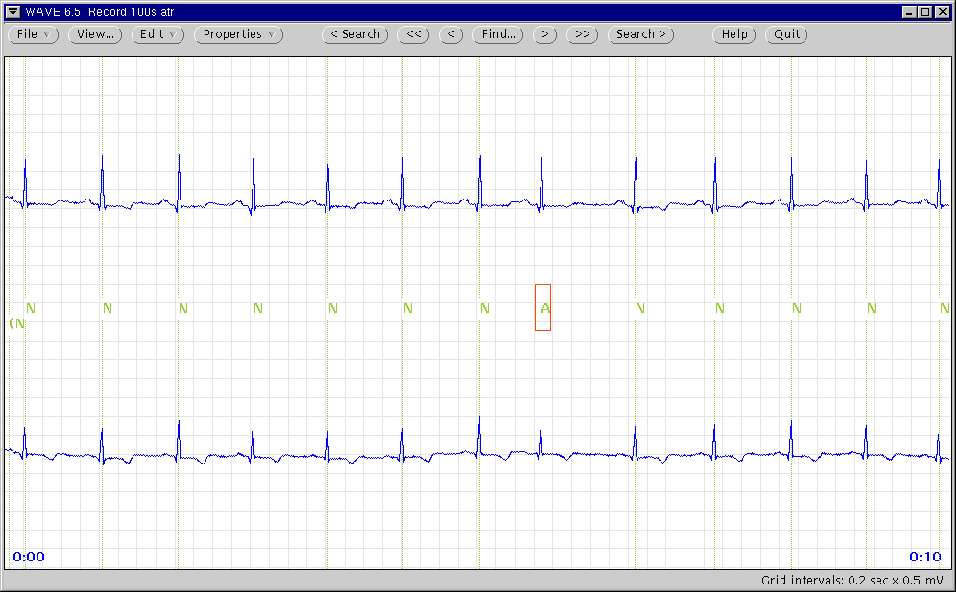
In this case, we need to change an existing `N' annotation into
an `A' annotation. To do so, we must select the annotation to
be changed.
Annotations are selected by clicking left or right in the
signal window. Whenever the pointer is in the signal window, clicking
left selects the annotation to the left of the pointer, and clicking
right selects the annotation to the right of the pointer. (If `Num
Lock' is off, and the pointer is within the signal window, you can use
the
![]() or
or
![]() keys
instead of the mouse buttons if you prefer.) The annotation is highlighted by
a selection rectangle
drawn around it, and the pointer jumps to
the center of the rectangle (see figure 2.6).
keys
instead of the mouse buttons if you prefer.) The annotation is highlighted by
a selection rectangle
drawn around it, and the pointer jumps to
the center of the rectangle (see figure 2.6).
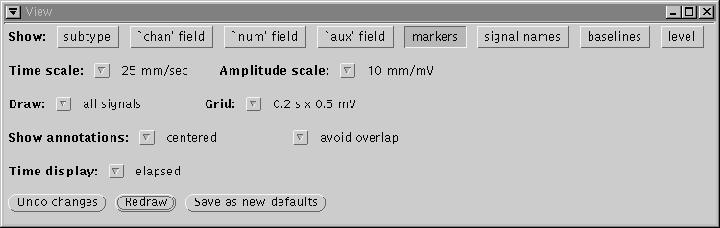
It is often useful, especially while editing annotations, to display marker
bars above and below each annotation. If you wish to do so, click left
on
![]() , then click left on the
, then click left on the
![]() selection
in the View window that appears (see
figure 2.7), and finally click left on
selection
in the View window that appears (see
figure 2.7), and finally click left on
![]() to dismiss the View window and redraw the signal window
with annotation marker bars (see figure 2.6).
to dismiss the View window and redraw the signal window
with annotation marker bars (see figure 2.6).